Ready or Not Game: Tips, Tricks & Beginner Guide 2026
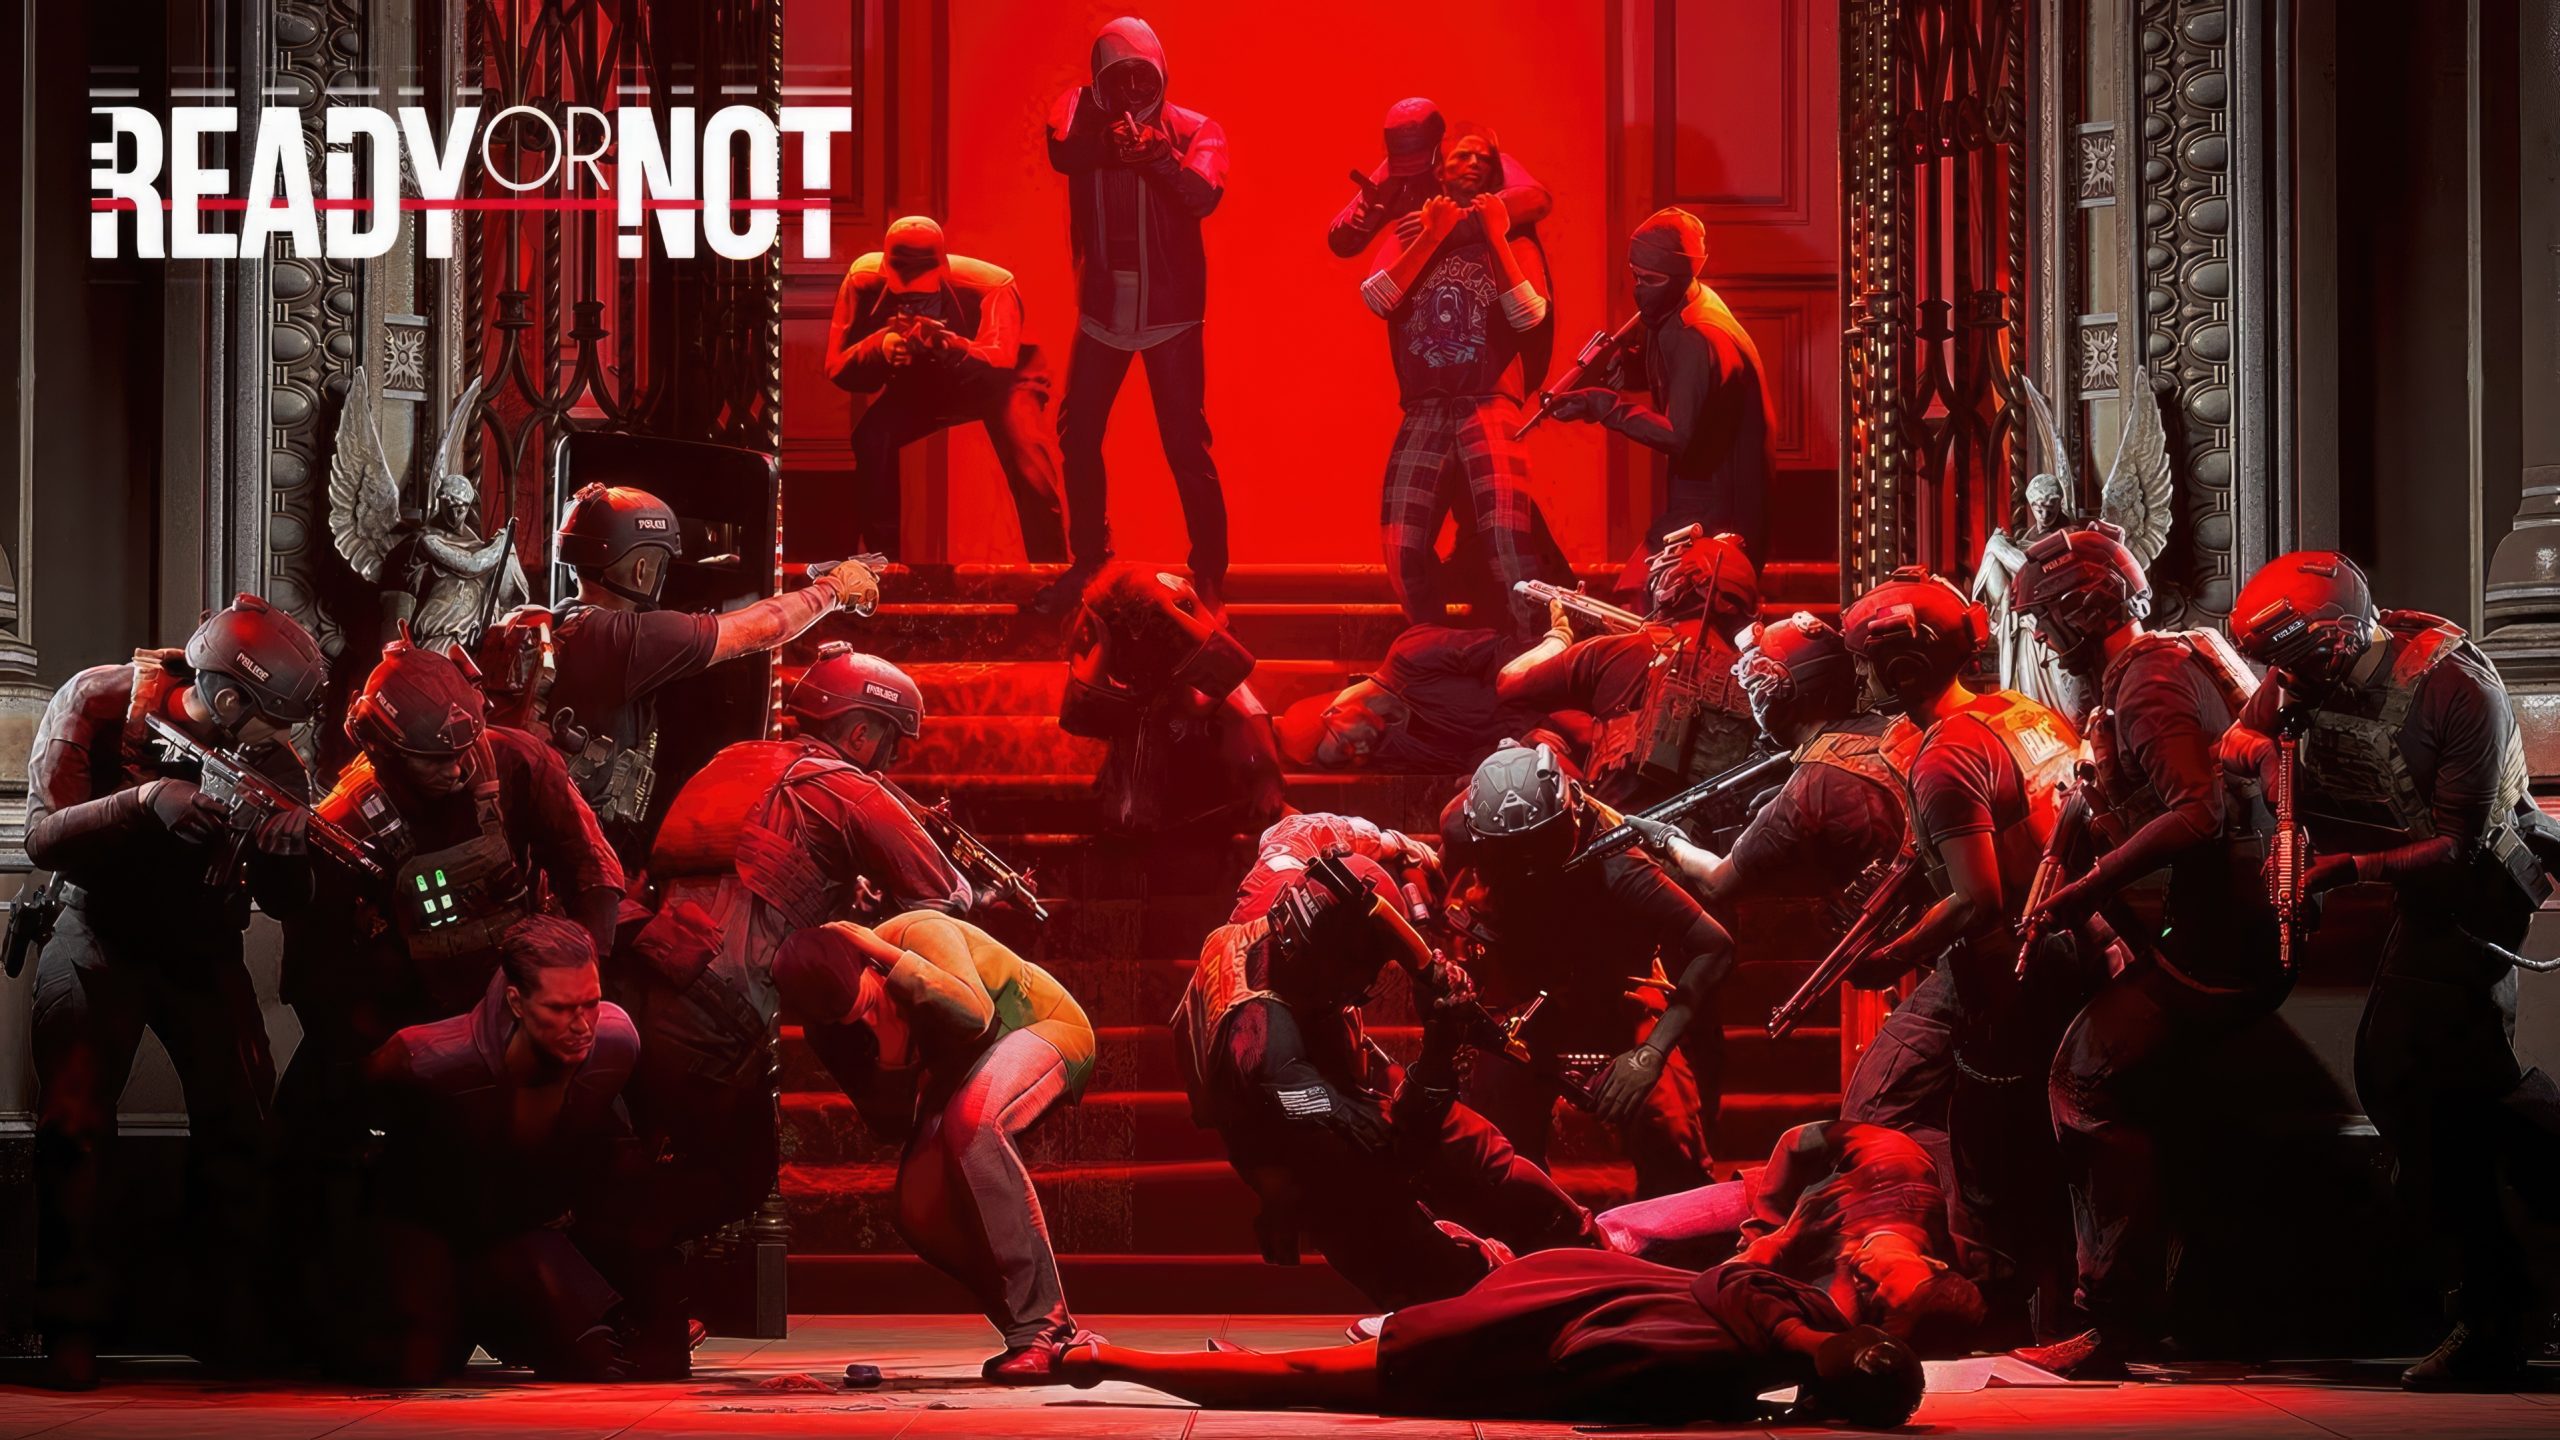
The Ready or Not game is one of the most intense and rewarding tactical shooters available in 2026 — and one of the most unforgiving for new players.
Developed by VOID Interactive, it puts you in the boots of a SWAT commander responding to violent crime in the fictional city of Los Sueños, California.
Every room is a risk, every door a decision, and every bullet counts. Whether you are just starting out on PC, PS5, or Xbox Series X, this complete beginner guide covers everything you need to know — from game mechanics and best loadouts to S-rank tips, AI commands, and mission strategy.
What Is Ready or Not Game?
Ready or Not is a tactical first-person shooter developed and published by VOID Interactive. It was released in full on PC in December 2023 after a long early access period, and launched on PlayStation 5 and Xbox Series X/S in July 2025.
The game is set in Los Sueños, a fictional version of Los Angeles experiencing massive social and economic collapse. You play as Commander David “Judge” Beaumont, leading D-Platoon — the LSPD’s elite SWAT unit — through 26 missions involving drug cartels, human trafficking, domestic terrorism, cybercrime, and more.
It is not a run-and-gun shooter. Ready or Not rewards patience, tactics, communication, and restraint. Killing suspects freely will cost you points. Arresting them earns you more.
Game Modes Explained
Before jumping into missions, understanding the available game modes saves a lot of confusion for new players.
Commander Mode
Commander Mode is the main single-player campaign. You manage a squad of named AI officers, each with unique traits, and deploy them across missions in a set unlock order.
Officer mental health degrades over time — if officers witness civilian deaths or lose teammates, they may need therapy and become unavailable. Managing your roster is as important as your mission tactics. This mode offers the richest story and long-term progression.
Quick Play
Quick Play lets you jump into any already-unlocked mission with generic AI teammates. There are no permanent consequences, no officer management, and no story progression. It is ideal for practicing specific maps or loadouts without risking your Commander campaign.
Multiplayer
Ready or Not supports cooperative multiplayer for up to five players per lobby. All matches are locally hosted — there are no dedicated servers. Cross-play is available between PC, PS5, and Xbox Series X/S after linking an Epic Games account.
As a beginner, avoid public lobbies. Public games often lack coordination and attract disruptive players. Play with friends or trusted teammates for a better experience.
Ironman Mode
Ironman Mode is a brutal variant of Commander Mode where death is permanent — for your officers and potentially your campaign. This is strictly for experienced players who have mastered the base game. Do not start here.
Training Mode
Training Mode takes place in the LSPD Headquarters firing range. It teaches basic mechanics including commands, equipment use, weapon handling, and movement. Always complete Training before your first real mission.
The Story: Los Sueños in Chaos
Ready or Not does not tell its story through cutscenes or dialogue. It tells it through environment, mission briefings, bodycam footage, and evidence you discover during missions.
The game is set between 2025 and 2027. Los Sueños is collapsing — meth distribution run by the Los Locos Del Pacificos gang, human trafficking, extremist cults, illegal crypto operations, and organized piracy all become targets of your SWAT team across the campaign.
The narrative is non-linear by default in Commander Mode but can be experienced chronologically by following the dates shown in bodycam footage. The story is dark, unflinching, and deliberately unsettling. It mirrors real issues facing American cities without softening them.
All Missions: Core Game and DLC
As of 2026, Ready or Not has 26 total missions.
| Content | Missions | Notes |
|---|---|---|
| Base Game | 18 missions | Main campaign unlocked in difficulty order |
| Home Invasion DLC | 3 missions | Post-hurricane Los Sueños, residential CQB |
| Dark Waters DLC | 3 missions | Maritime maps, oil rig, yacht, abandoned hotel |
| Los Sueños Stories | 2 missions | Free content released alongside console launch |
| Boiling Point DLC | 3 missions | Terrorism arc, adds 3 free weapons for all players |
The first mission — Thank You, Come Again — is a gas station robbery. It is the tutorial mission in disguise and a good place to learn the basics without the pressure of complex objectives.
Core Gameplay Mechanics Every Beginner Must Know
Slow Is Smooth, Smooth Is Fast
The most important lesson in Ready or Not is this: do not rush. The game actively punishes aggressive, reckless play. AI suspects have dynamic behaviors — they take cover, fake surrenders, and flank around corners.
Moving slowly lets you listen for audio cues, communicate with your team, and assess threats before committing to an entry. One rushed breach can result in multiple officer deaths and a failed mission.
The Rules of Engagement (ROE)
Ready or Not is built around a realistic use-of-force framework. You cannot shoot suspects on sight. You must attempt to get them to surrender first — by shouting commands, using non-lethal tools, or creating situations where they comply.
Lethal force is only permitted when a suspect is an immediate threat to life — actively shooting, pointing a weapon, or refusing to comply after repeated warnings. Violating ROE deducts points and lowers your mission score. Shooting a compliant suspect is a major penalty.
The Scoring and Ranking System
Every mission ends with a score and a letter grade from D to S. Understanding the scoring system is essential if you want to improve.
| Action | Score Impact |
|---|---|
| Arresting a suspect (non-lethal) | High positive |
| Incapacitating a suspect (non-lethal takedown) | Positive |
| Killing a suspect (authorized lethal force) | Minor negative |
| Killing a non-threatening suspect | Major negative |
| Civilian injured or killed | Major negative |
| Officer killed | Negative |
| Completing all primary objectives | Positive |
| Completing all secondary (soft) objectives | Bonus positive |
| Collecting all evidence | Bonus positive |
| Securing all suspects (cuffed) | Bonus positive |
S-rank requires near-perfect execution: all suspects arrested or incapacitated non-lethally, all objectives complete, no civilian casualties, and all evidence secured.
The Tablet
Press and hold TAB during a mission to open your Tablet. This displays your current objectives, both primary and secondary (soft objectives). Checking the Tablet regularly prevents you from missing hidden objectives that hurt your final score.
In Headquarters, the Tablet is also used to review mission briefings, hire new officers, and manage your roster.
Room Clearing Order
Maps in Ready or Not have complex layouts with multiple floors and interconnected rooms. Clearing them without a systematic approach leads to backtracking and missed suspects.
Proceed room by room in a consistent direction. Mark searched rooms in your head or communicate with your team. Never assume a room is clear because you entered it once — suspects can move.
Movement and Positioning
Leaning Around Corners
The lean mechanic is one of the most important skills in Ready or Not. Hold Q or E (default) to peek left or right around a corner without fully exposing your body.
Use lean to gather information before committing to entering a room or doorway. This dramatically reduces your exposure to return fire. Practice leaning until it is completely instinctive.
High Ready and Low Ready
You cannot sprint in Ready or Not. To move faster, lower your weapon into Low Ready or High Ready stance. This increases your movement speed while keeping you ready to engage.
High Ready is better when you expect threats above ground level. Low Ready is better for navigating tight spaces and stairwells quickly. Both positions allow faster movement than full aim-down-sight.
Pieing Corners
Pieing is the technique of gradually exposing yourself to a new angle by moving in an arc rather than walking straight around a corner. This gives you vision into the space incrementally instead of all at once, reducing the risk of being shot the moment you appear.
Always pie corners before entering any room or hallway junction. Combine pieing with lean mechanics for maximum situational awareness.
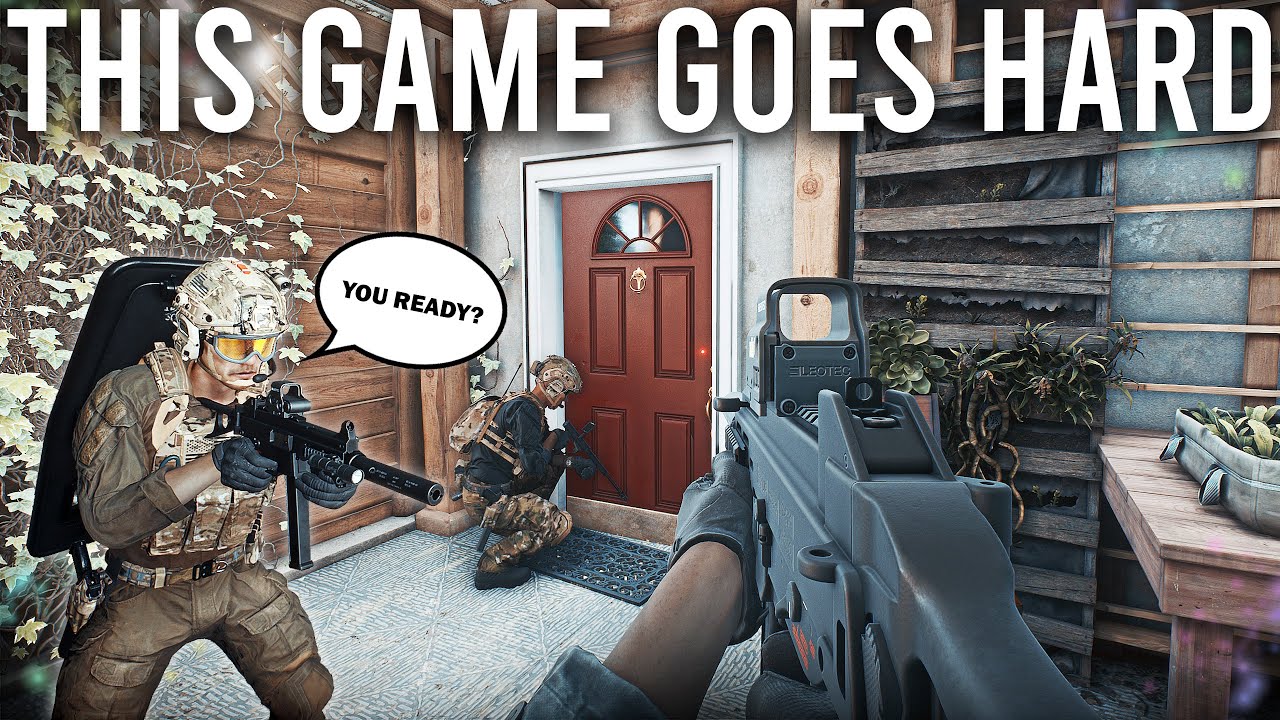
Door Tactics and Breaching
Doors in Ready or Not are one of the most dangerous elements of every mission. The wrong approach to a door can mean instant death.
Check Before You Open
Never open a door without checking it first. Use the Mirror Gun to look under the door gap and spot any suspects waiting on the other side. This alone saves more lives than any other single habit.
Check for booby traps — tripwires and explosive charges are placed on doors throughout certain missions. Scan the door frame carefully before touching any handle.
Door Opening Options
| Method | Noise Level | Best For |
|---|---|---|
| Slow open | Silent | Gathering intel without alerting suspects |
| Fast open / kick | Loud | Disorienting suspects if breaching immediately |
| Battering Ram | Very loud | Locked or barricaded doors, quick forced entry |
| C2 Explosive | Extremely loud | Instant breach, useful for coordinated team entries |
| Breaching Shotgun | Loud | Destroying door hinges for alternative breaching |
Kicking a door open and walking in is one of the deadliest mistakes a beginner can make. The noise gives suspects time to react and position.
Double Breach
A double breach involves two teams entering the same room simultaneously through two different doors. This divides suspect attention and dramatically reduces the chance of a prepared ambush.
Coordinate with your team (or give your AI teams the correct orders) to stack on separate doors before breaching simultaneously. This is the gold standard for clearing large or high-threat rooms.
Door Wedges
Door wedges are reusable tools that physically block a door from opening. Use them to seal off rooms you have already cleared, prevent suspects from flanking your team from behind, and control movement routes through a building.
Make a habit of wedging doors behind you. It turns cleared areas into safe zones and simplifies your mental map of the mission space.
Equipment and Tactical Gear Guide
Ready or Not gives you access to over 60 items across weapons, armor, and tactical equipment. Knowing what each piece of gear does — and when to use it — is half the battle.
Mirror Gun (Optiwand)
The Mirror Gun (also called the Optiwand) is one of the most valuable pieces of equipment in the game. Slide it under a door gap or around a corner to see what is on the other side without exposing yourself.
Always carry a Mirror Gun. Use it before every door. It is not optional for players who want to survive difficult missions.
Flashbang Grenades
Flashbangs blind and disorient suspects for a few seconds after detonation. Toss one through a doorway before entering to safely clear rooms without immediate gunfire.
Make sure your teammates are not in the blast line or looking at the detonation point. Friendly flashbangs are just as blinding as enemy ones.
CS Gas Grenades
CS gas (tear gas) forces suspects to move, cough, and — in many cases — surrender without a fight. It is one of the most effective non-lethal tools for crowd-control situations and is particularly useful in rooms with multiple suspects.
Use CS gas to flush suspects out of fortified positions or to create surrender situations in large rooms.
Ballistic Shield
The ballistic shield provides frontline protection for the officer carrying it. Point men on dangerous breaches benefit enormously from a shield — it absorbs gunfire and draws suspect attention, allowing teammates to flank safely.
Assign shields to one officer on each team in high-threat missions. Note that carrying a shield slows your movement and restricts your weapon to a sidearm.
Tasers
The taser is a simple, reliable non-lethal secondary weapon. It instantly incapacitates most suspects when it connects. Note that some heavily armored or drugged suspects may be resistant.
Equip your AI teammates with tasers rather than lethal sidearms during non-lethal runs to prevent accidental kills.
Night Vision Goggles (NVG)
Night vision goggles are essential for night missions and dark interiors. Pair them with an IR laser attachment on your primary weapon — the IR laser is invisible without NVG, meaning suspects cannot see it but you can aim precisely.
Equip NVG for every team member on missions with low lighting. The difference in performance is dramatic.
Best Weapons for Beginners
Ready or Not has over 40 weapons across assault rifles, SMGs, shotguns, and pistols. All weapons are available from the start — there is no unlock progression for weapons.
Best Beginner Primary Weapons
| Weapon | Type | Why It Works for Beginners |
|---|---|---|
| GA416 (HK416) | Assault Rifle | Low recoil, high damage, versatile across all ranges |
| SR-16 | Assault Rifle | Excellent accuracy, beginner-friendly handling, good for longer ranges |
| MK18 | Assault Rifle | Short barrel for CQB, manageable recoil, reliable |
| M1014 | Shotgun | Dominant in close-quarters, fast room clearing |
| P90 | SMG | High magazine capacity (50 rounds), very low recoil, great for aggressive pushes |
The GA416 with an EXPS3 holographic sight and angled grip is the most recommended beginner loadout primary. It handles reliably in almost every situation.
Best Non-Lethal Primary (For S-Rank Runs)
The Beanbag Shotgun is the best non-lethal primary in the game. Two body shots incapacitate most suspects without killing them. Never aim at the head — it can be lethal.
The VPL-25 pepperball gun is an alternative for longer-range non-lethal engagement. It is less punishing per shot but works at range.
Best Sidearms
| Weapon | Why Use It |
|---|---|
| USP45 | Hard-hitting .45 caliber, 12-round capacity, stops armored suspects in 2 shots |
| Five-Seven | 20-round magazine, 5.7mm armor-piercing rounds, excellent against armored threats |
| Taser | Best non-lethal secondary, instant incapacitation for most suspects |
Weapon Attachments That Matter
The right attachments change how a weapon performs dramatically.
| Attachment | Effect |
|---|---|
| EXPS3 Holographic Sight | Wide field of view, clear sight picture, ideal for CQB |
| ACOG / Magnified Optic | Better for longer-range missions and open environments |
| Angled Grip | Reduces horizontal recoil by 20%, speeds up ADS |
| Suppressor | Reduces sound signature, keeps suspects from being immediately alerted |
| Weapon Flashlight | Essential for dark rooms — do not neglect this |
| IR Laser | Invisible without NVG, precise aiming on night missions |
Best Loadout for New Players
This universal beginner loadout works across almost every mission:
Primary: GA416 with EXPS3 Holographic Sight, Angled Grip, Weapon Flashlight, and Suppressor
Secondary: USP45 or Taser (use Taser if prioritizing non-lethal)
Armor: Heavy Ceramic Armor with full front and back coverage
Helmet: Ballistic Helmet with NVG mount
Tactical Gear: Mirror Gun, 2× Door Wedges, CS Gas Grenade, Flashbang Grenade
Ammo: JHP rounds for unarmored suspects; AP rounds when briefing indicates armored threats
This setup covers most scenarios without requiring advanced knowledge of specific mission layouts.
AI Teammate Commands
In single-player and Commander Mode, your AI teammates take orders via the command wheel. Learning these commands is critical — AI without direction will make poor decisions.
| Command | When to Use It |
|---|---|
| Stack on door (left/right) | Before any breach — position team for simultaneous entry |
| Open door (slow/fast) | Control how your team interacts with doors |
| Deploy flashbang / CS gas | Have AI prep a room before entry |
| Move to position | Reposition specific officers to cover angles |
| Restrain suspect | Order AI to cuff a downed or compliant suspect |
| Cover area | AI holds a position and watches for threats |
| Secure evidence | Order AI to collect nearby evidence items |
Always give stack commands before breaching. AI that breach without preparation take unnecessary hits and may shoot suspects you wanted to arrest.
Tips and Tricks for Beginners
Always Read the Mission Briefing
The mission briefing contains crucial information about suspect count, civilian presence, suspected weapons, and known map layout. Reading it carefully lets you choose the right loadout and plan entry points before you deploy.
Briefings are accessible via the Tablet in Headquarters or on the mission select screen. Skipping them is one of the most common mistakes new players make.
Use the Shooting Range First
The LSPD Headquarters has a shooting range in the basement. Spend time here testing every weapon before committing to a mission loadout. Learn how each weapon handles, test different attachments, and find what feels comfortable for you.
The range also lets you practice the reload mechanics — tactical reload (retains unused mag) versus empty reload. These behave differently and matter in real missions.
Secure Every Suspect
When a suspect goes down — whether from a non-lethal hit, a gunshot, or a gas grenade — cuff them immediately. Suspects can recover and re-engage if left uncuffed. A seemingly dead or incapacitated suspect who gets back up and shoots you is completely avoidable.
Cuffing also maximizes your score. Cuffed suspects count as arrests. Uncuffed ones do not.
Collect All Evidence
Many missions have secondary objectives tied to evidence collection. Evidence items are scattered throughout the map and often found in rooms you might skip if rushing to complete primary objectives.
Check the Tablet regularly for objective updates. Use the Mirror Gun to carefully scan rooms before entering so you notice collectibles.
Do Not Neglect Soft Objectives
Secondary objectives — labeled “soft” in the game — are optional but contribute meaningfully to your final score. Completing them is necessary for S-rank on most missions.
Examples include reporting specific suspects, finding specific evidence, or rescuing additional civilians beyond the primary objective. Check your Tablet after every major room clear.
Suppress Dropped Weapons
When suspects drop weapons — whether surrendering or incapacitated — kick the weapons away or ensure AI teammates cannot accidentally pick them up. A compliant suspect who grabs a dropped weapon will re-engage.
This is especially important in rooms with multiple suspects at different stages of compliance.
Start on Barricaded Suspects Difficulty
Ready or Not has multiple difficulty settings. Barricaded Suspects is the most approachable for new players — suspects are dangerous but manageable. Avoid Heavy Gunner difficulty until you have a solid understanding of map layouts, breach tactics, and team commands.
Multiplayer Tips
Playing with friends transforms Ready or Not from a challenging solo experience into one of the best cooperative games available.
Assign roles before deployment. Designate a point man, a breacher, a support (carrying shields and grenades), and a rear security officer. Clear roles prevent overlapping actions and gaps in coverage.
Use voice communication. Text chat is too slow for real-time tactical decisions. Voice comms — Discord, in-game party chat, or platform voice — are not optional in serious multiplayer runs.
Coordinate breaches explicitly. Say “ready” on your stack position before any door opens. A breach where one player enters before teammates are ready is a recipe for casualties.
Avoid public lobbies as a beginner. Public games lack coordination and often attract players who grief or ignore objectives. Learn with friends first.
Common Beginner Mistakes
| Mistake | Why It Hurts You |
|---|---|
| Rushing through doors | Suspects get time to react and shoot you |
| Skipping the Mirror Gun check | You walk into an ambush or tripwire |
| Using lethal weapons on non-threatening suspects | Major point deduction, no S-rank possible |
| Not cuffing downed suspects | Suspects recover and re-engage |
| Ignoring the Tablet | Missing soft objectives kills your score |
| Not coordinating AI stack before breach | AI enter unprepared, take unnecessary hits |
| Using full-auto in close quarters | Loss of accuracy, risk of civilian collateral |
| Forgetting door wedges | Cleared rooms become threats again |
Frequently Asked Questions (FAQs)
Is Ready or Not good for beginners?
Ready or Not has a steep learning curve — it is not pick-up-and-play. But with the Training mode, shooting range practice, and starting on Barricaded Suspects difficulty, new players can absolutely enjoy and improve in the game from day one.
Can you play Ready or Not solo?
Yes. The game is fully playable in single player with AI teammates in both Commander Mode and Quick Play. Commander Mode specifically is a rich solo experience with squad management, officer traits, and a full story campaign.
What platforms is Ready or Not available on?
Ready or Not is available on PC (Steam and Epic Games Store), PlayStation 5, and Xbox Series X/S. Cross-play between all platforms is available after linking an Epic Games account.
How do you get S-rank in Ready or Not?
S-rank requires completing all primary and soft objectives, arresting all suspects using non-lethal methods only, securing all evidence, and causing zero civilian casualties. Non-lethal loadouts centered on the Beanbag Shotgun and CS gas are the most reliable path to S-rank.
What is the best weapon for beginners in Ready or Not?
The GA416 assault rifle is the best starting primary for beginners — it has low recoil, reliable damage, and works at all combat distances. Pair it with a holographic sight, angled grip, suppressor, and weapon flashlight for a complete setup.
Does Ready or Not have a story?
Yes, but it is told through environmental storytelling, mission briefings, and bodycam footage rather than cutscenes. The story follows LSPD D-Platoon battling drug cartels, human trafficking rings, extremist groups, and organized crime across 26 missions set in the collapsing city of Los Sueños.
Is Ready or Not multiplayer or single player?
Both. It supports up to 5-player co-op multiplayer and has a full single-player campaign (Commander Mode) with AI teammates. Multiplayer is where the game truly shines, but the solo experience is surprisingly deep and engaging.
What difficulty should beginners start on in Ready or Not?
Start on Barricaded Suspects difficulty. It gives suspects realistic threat behavior without being overwhelming. Avoid Heavy Gunner difficulty until you are comfortable with map layouts, breach tactics, and scoring systems.
Are there microtransactions or pay-to-win elements in Ready or Not?
No. Ready or Not has no microtransactions. All weapons are unlocked from the start at no cost. Additional content comes via paid DLC (Home Invasion, Dark Waters, Boiling Point), but none of it provides a competitive advantage — it adds maps, missions, and cosmetics only.
How many missions does Ready or Not have in 2026?
As of 2026, Ready or Not has 26 total missions — 18 in the base game plus 8 across the Home Invasion, Dark Waters, Los Sueños Stories, and Boiling Point DLCs. The Boiling Point DLC also adds three free weapons for all players regardless of DLC ownership.
Conclusion
The Ready or Not game is a demanding, deeply rewarding tactical experience unlike anything else in modern gaming.
In 2026, with its full console release, expanding DLC library, and growing community, it is more accessible and content-rich than ever — while remaining uncompromising in its commitment to realistic, consequence-driven SWAT gameplay.
For beginners, the key is patience. Take the time to complete Training, spend sessions in the shooting range, read every mission briefing, and resist the urge to play it like a standard FPS.
Learn your commands, use your gear, protect your team, and aim for arrests over kills. The game rewards every investment of time and thought.
Whether you are playing solo through the dark storylines of Los Sueños or coordinating five-player co-op breaches with friends, Ready or Not delivers tension, tactical depth, and satisfaction that few games match. Master the basics in this guide and the rest will follow. Good luck out there, Commander.